
Our home is one that revels in magical beasts, lightsaber battles, trips to the Shire and quests to rid the world (or the galaxy) of evil forces. So naturally as parents, we’re always on the lookout for activities that are not only fun but also spark our children’s imagination and curiosity!
Just as our Wizarding School was inspired by the beloved world of Harry Potter, this article will guide you through creating a magical potion-making experience right in your own home.

1. Setting the Scene
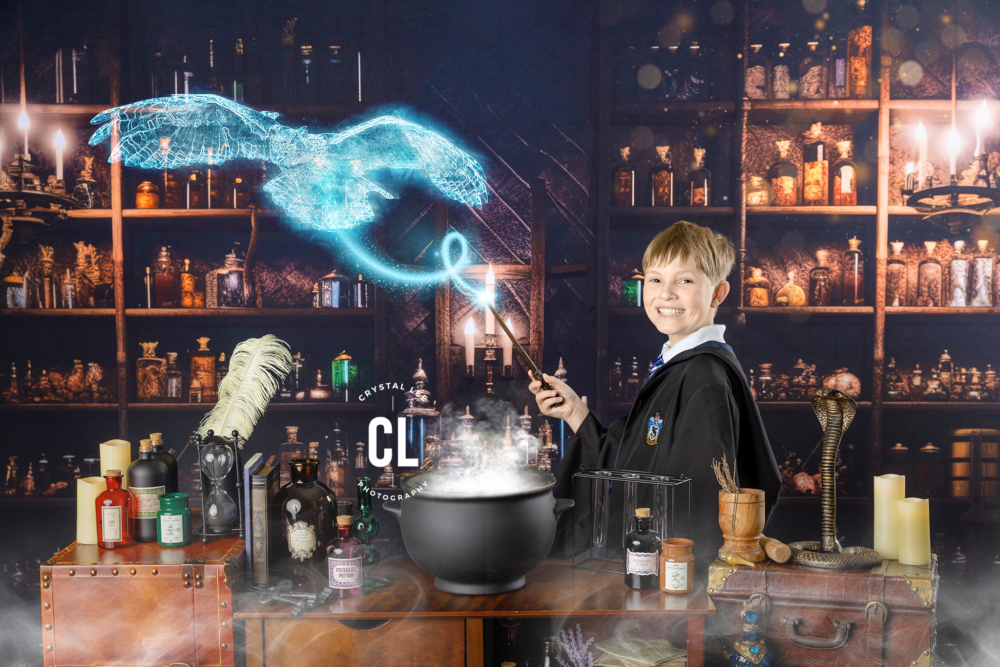
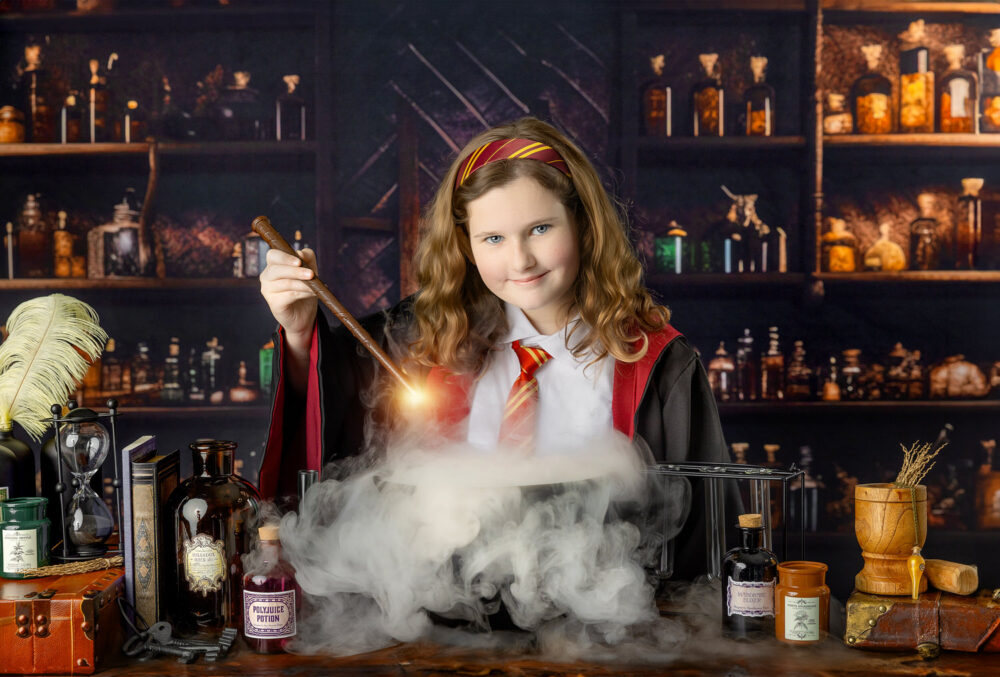
You could just put everything on your kitchen table and start mixing away, but because I’m super extra I like to get fully in character! Let’s make the whole room feel like part of the wizarding world.
Decorating with Harry Potter-Themed Items
To make the experience even more immersive, here’s a list of fun items to set the scene, along with Amazon links to help you get started:
- House Banners: Hang banners representing Gryffindor, Hufflepuff, Ravenclaw, and Slytherin around the area. Buy on Amazon
- String Lights: Use twinkling fairy lights to create a magical glow. Buy on Amazon
- Floating Candles: These are definitely my favorite item! Perfect to turn your space or child’s bedroom into the Great Hall. Buy on Amazon
- Tablecloths and Backdrops: Choose tablecloths and backdrops with Hogwarts prints or stars and moons to add to the ambiance. Buy on Amazon
- Harry Potter Music: Play some Harry Potter soundtrack music in the background to set the mood. Buy on Amazon
- Wizard Robes: Have your little ones dress the part with these Harry Potter robes. Buy on Amazon
- Wands: No wizard is complete without a wand. Pick up some authentic-looking Harry Potter wands. Buy on Amazon
2. Safety First
With these experiments it is important that children be supervised at all times. Most of these common household items (aside from dry ice) are generally safe but should be used with care.
Safe Handling of Dry Ice
- NEVER Touch with Bare Hands: Dry ice is extremely cold (-109.3°F or -78.5°C) and can cause severe frostbite. Always use insulated gloves and/or tongs when handling it.
- Proper Ventilation: Use dry ice in a well-ventilated area. As it sublimates, it releases carbon dioxide, which can displace oxygen and pose a suffocation risk in enclosed spaces.
- Storage: Store dry ice in an insulated container but not in a completely airtight container, as the sublimating gas can cause the container to burst. I personally use an Igloo cooler bag, but any fabric cooler with a hard plastic interior should do the trick!
- Supervision: Always supervise children closely when dry ice is in use to prevent accidental contact or ingestion.
Safety Concerns with Food Coloring, Vinegar, and Baking Soda
- Food Coloring:
- Staining: Food coloring can stain skin, clothes, and surfaces. Use protective coverings and wear old clothes.
- Non-Toxic: Most food coloring is non-toxic, but ingestion of large amounts should be avoided. Keep out of reach of very young children.
- Vinegar:
- Acidity: Vinegar is mildly acidic. Avoid contact with eyes and open wounds. If splashed in the eyes, rinse thoroughly with water.
- Non-Toxic: Generally safe in small amounts, but ingestion of large quantities can cause stomach upset.
- Baking Soda:
- Non-Toxic: Baking soda is non-toxic but should be kept away from eyes and mouth. Ingesting large amounts can cause gastrointestinal distress.
- Inhalation: Avoid inhaling baking soda dust as it can irritate the respiratory system.
- Glass Jars:
- Heat and Pressure: Do not subject glass jars to extreme temperature changes or seal them tightly when containing reactive mixtures (like vinegar and baking soda) to prevent shattering or explosion due to pressure build-up.
- Breakage: Glass can break easily, especially when handled by young children. If a jar or bottle breaks, carefully clean up the pieces using thick gloves and dispose of them safely.
Let’s ensure that your potion-making activity is both magical and safe for everyone involved!
3. Creating Cauldron Magic
What You Need:
Using dry ice can add a mesmerizing fog effect to your potions! The bubbling sound and dancing fog truly feels magical. Here’s what you need to do it safely and effectively:
- A Cauldron or Bowl: Use a ceramic or thick plastic bowl/cauldron. Avoid thin glass as it can crack due to temperature changes.
- Dry Ice: For this experiment you’ll use approximately 1-2 pounds of dry ice per gallon of water. Adjust based on the size of your container and the desired fog effect. You can find dry ice at many local grocery stores such as Publix.
- Water Temperature: Hot water (not boiling) works best to create a dense fog. The hotter the water, the more vigorous the reaction.
- Insulated Gloves or Tongs: Remember to protect your skin at all costs! I personally use metal kitchen tongs to move the dry ice chunks from the cooler to the cauldron or bowl.
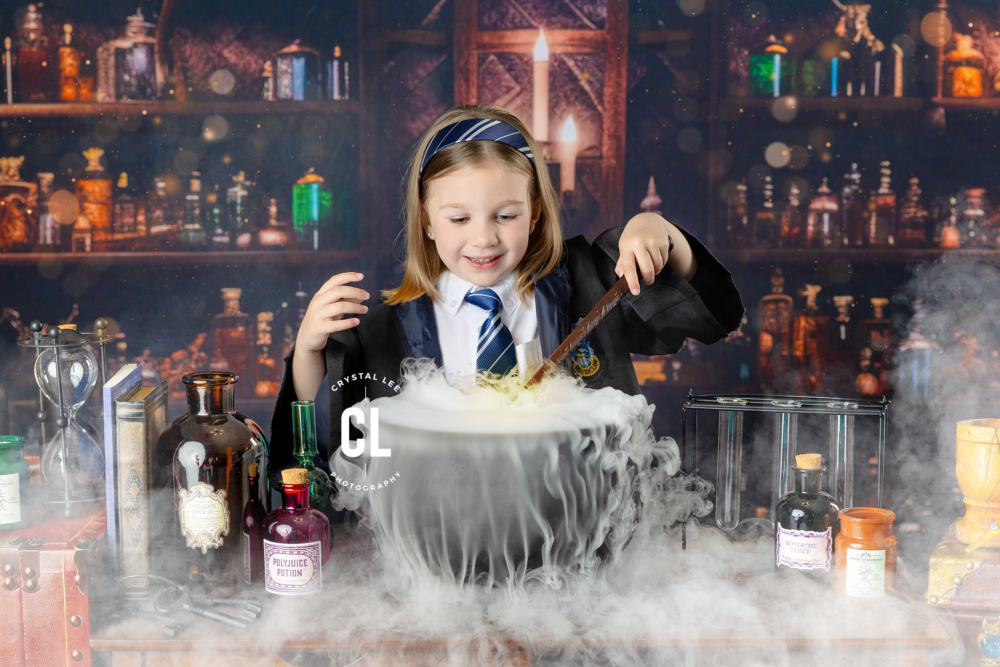
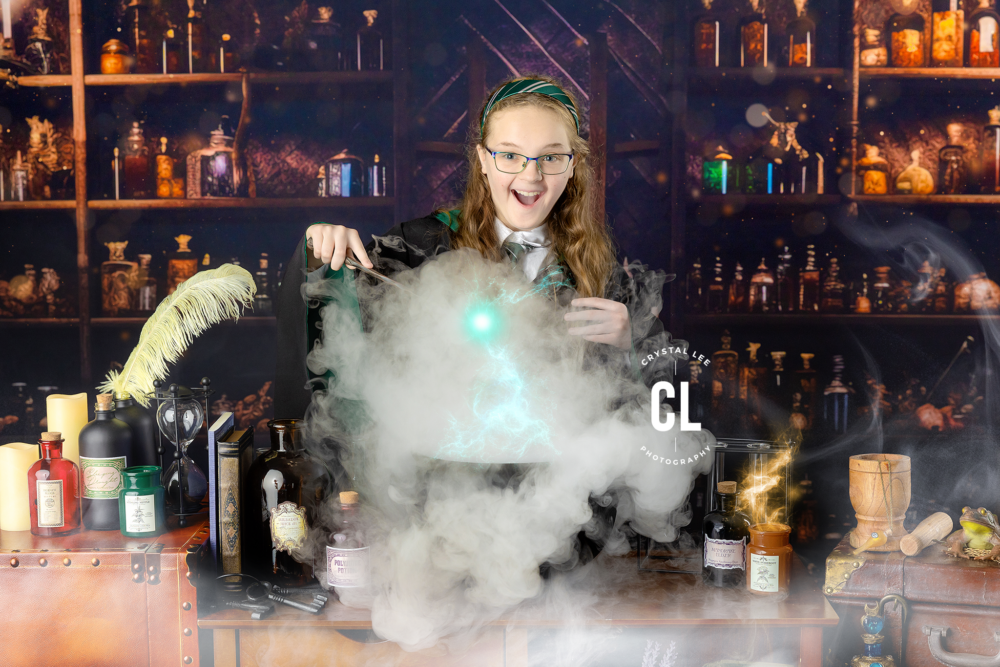
How To Create A Smoke and Mist Potion:
Ingredients:
- Hot water (not boiling)
- A small piece of dry ice
- Optional: food coloring for added effect
Instructions:
- Pour hot water, fill your cauldron or bowl about 50-75%
- Add food coloring if desired
- Carefully add a small piece of dry ice
- Watch the cauldron overflow with magical mist!
- Add more pieces of dry ice as desired
FUN TIP: Blow gently into the cauldron and watch the mist react!
Disposing of Dry Ice:
The safest way to dispose of dry ice is to let it completely sublimate (turn from solid to gas). Choose an outdoor area or a well-ventilated indoor space and let it sit until until all of the dry ice is visibly gone. This process can take several hours, depending on the size of the dry ice pieces and the temperature of the surrounding environment.
Never dispose of dry ice in an enclosed space like a closet, refrigerator, or car, as the CO2 gas can displace oxygen and pose a suffocation risk. Also, do not dispose of dry ice in sinks, drains, or toilets. The extreme cold can damage plumbing and cause pipes to crack.
The Science Behind The Magic
My husband loves to nerd out on these kinds of details, and understanding how dry ice works can make the experience even more fascinating for kids!
Dry ice is solid carbon dioxide (CO2). When it is exposed to warmer temperatures, it sublimates, meaning it changes directly from a solid to a gas without becoming a liquid.
The mist or “fog” you see is actually condensed water vapor. When dry ice sublimates, it releases CO2 gas, which is much colder than the surrounding air. This cold gas cools the water vapor in the air, causing it to condense into tiny droplets that form the visible mist.
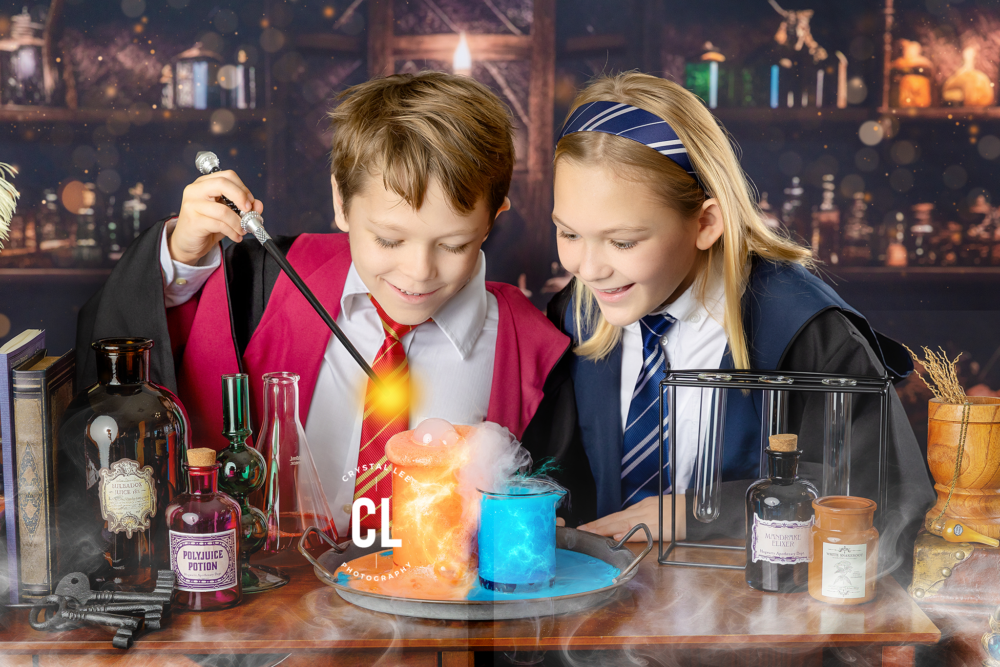
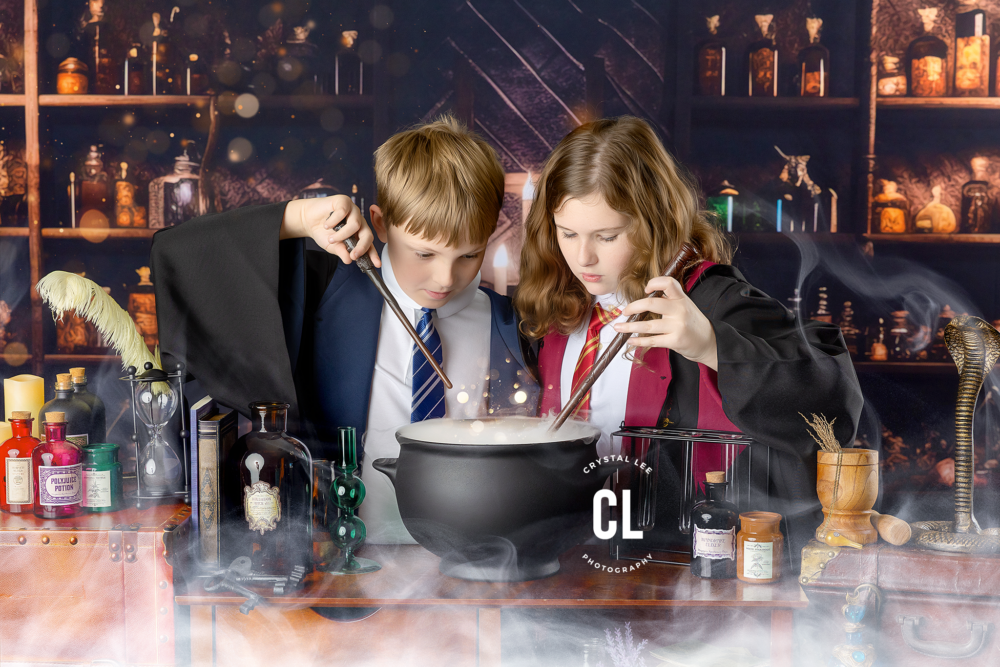
4. Mixing Magical Potions
We always end our Potions Class with this being the very last experiment. Because now it’s time to make a mess… literally!
What You Need:
- Vinegar
- Baking soda
- Dish soap (optional)
- Food coloring (optional)
- Small pieces of dry ice (optional)
- Beaker bottles, Erlenmeyer Flasks, or other clear containers
- A tablecloth and tray to help catch the mess
Instructions:
Some people choose to put the vinegar into the beaker first and then add in spoonfuls of baking soda, but I personally prefer to do the opposite. Kids love the ease of pouring in the liquid and then watching the magic happen!
The ideal ratio for this potion is 1 part baking soda to 4 parts vinegar.
- Add a layer of baking soda to a beaker, no more than 1/4 full
- Fill a second beaker with vinegar
- Optional: Add in a few squirts of food coloring to the vinegar
- Slowly pour the vinegar into the baking soda and watch the magic happen!
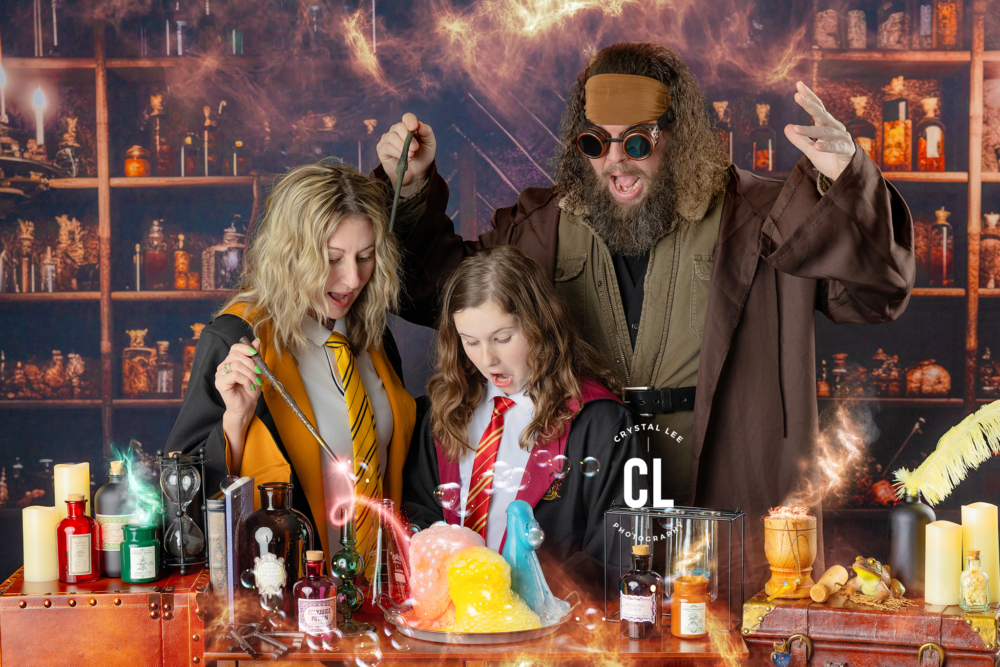
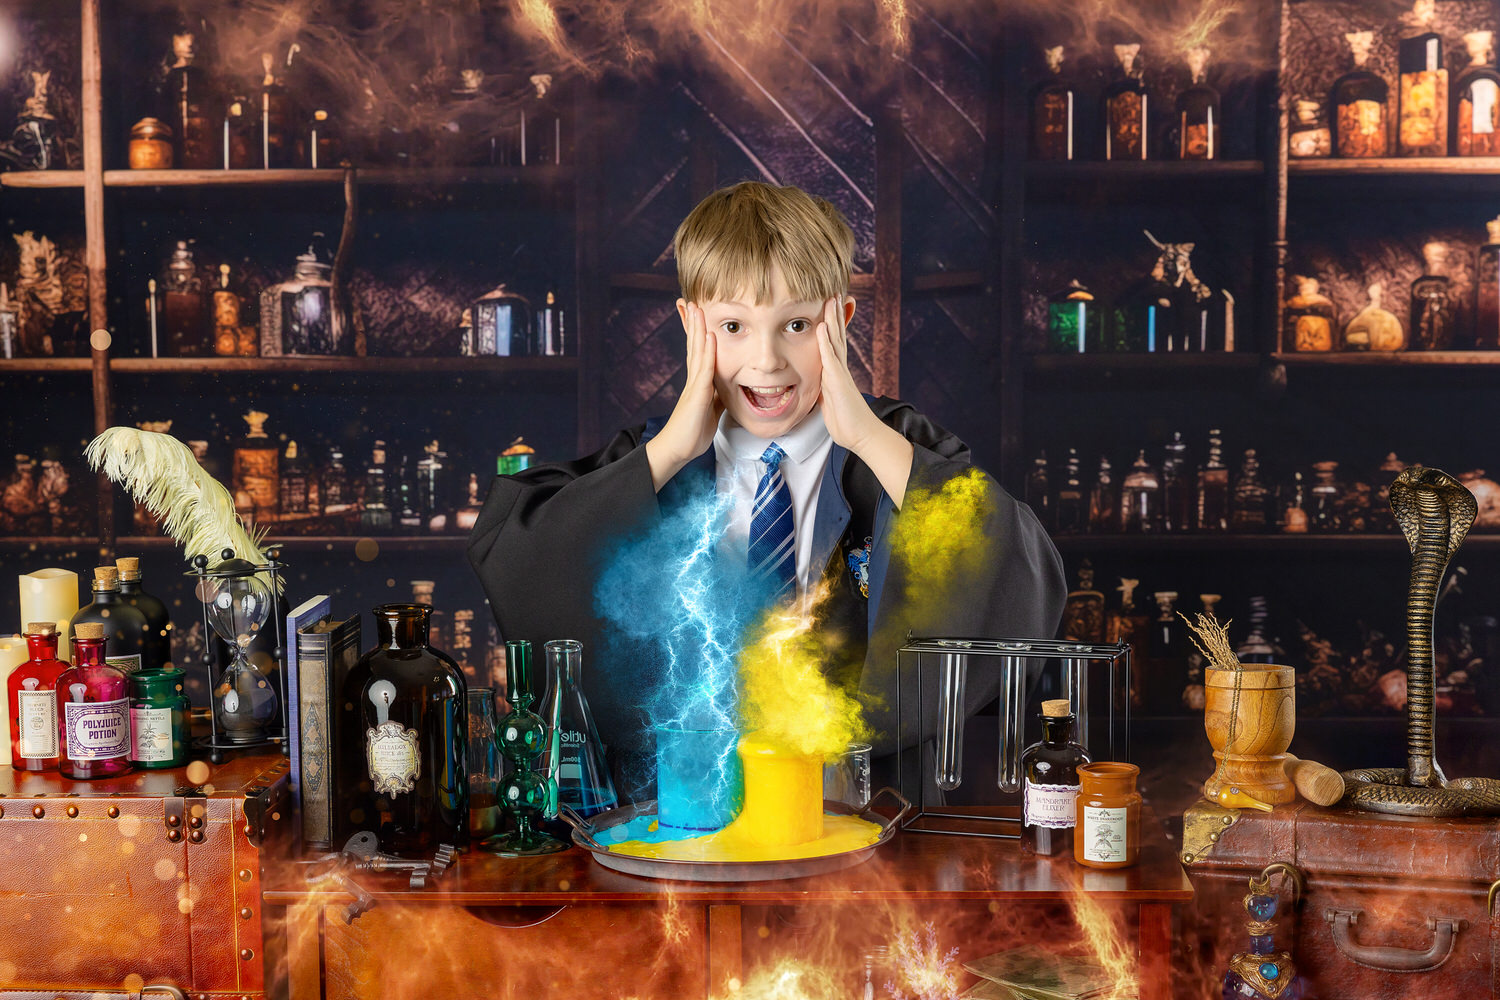
Now Let’s Get Creative!
Add a squirt of dish soap to each beaker bottle. The soap will create more bubbles and foam when the baking soda is added, making the potion look even more magical.
Want to get even more crazy? Take a small piece of dry ice and add it into the mixture! (Remember not to put the dry ice any container made of thin glass.) The smoky, bubbling effect is mesmerizing!
Fun Potion Variations
- Rainbow Potion: Use different food coloring in each beaker bottle to create a rainbow of potions.
- Glitter Potion: Add a pinch of glitter to each beaker bottle for a sparkling effect.
The Science Behind The Magic
- Vinegar and Baking Soda Reaction: When vinegar (an acid) and baking soda (a base) are mixed, they react to form carbon dioxide gas, water, and a small amount of sodium acetate. The carbon dioxide gas creates bubbles and foam.
- Soap Addition: The dish soap traps the carbon dioxide gas, creating more bubbles and a foamy potion.
- Dry Ice Addition: Dry ice is solid carbon dioxide. When added to the potion, it sublimates (turns from solid to gas) rapidly, creating a smoky fog effect as the CO2 gas mixes with water vapor in the air.
5. Wrapping Up the Experience
After an exciting session of magical potion-making, it’s important to wrap up the activity properly. Here’s how you can clean up safely, reflect on the fun and learning moments, and encourage feedback from the kids.
Cleaning Up Safely After the Activity
Dispose of Ingredients Properly:
- Ensure all leftover dry ice has sublimated in a well-ventilated area before discarding the container.
- Pour any leftover vinegar and baking soda mixtures down the sink, flushing with plenty of water to avoid clogging.
Clean the Area:
- Wipe down surfaces with a damp cloth to remove any spills or residue.
- Wash beaker bottles and other containers with warm, soapy water to remove any remaining potion ingredients.
Store Supplies Safely:
- Store any remaining dry ice in an insulated container, ensuring it is not airtight.
- Keep all other potion-making supplies, like food coloring and baking soda, in a safe place out of reach of young children.
Reflecting on the Fun and Learning Moments
Discussion Time:
- Sit down with your child(ren) and discuss what they learned from the activity.
- Ask questions like, “What did you find most surprising?” or “Which potion was your favorite to make?”
Favorite Potion Poll:
- Ask each child to share their favorite potion and why they liked it the most.
- Use a simple voting method, like raising hands, to see which potion was the overall favorite.
Creative Feedback:
- Encourage the kids to come up with their own potion names and spells.
- Ask them to draw a picture or write a short story about their potion-making adventure.
Positive Reinforcement:
- Praise the children for their creativity and participation!
- Highlight specific moments where they showed enthusiasm, curiosity, or teamwork.
By wrapping up the activity this way, you can ensure a safe cleanup, reinforce the educational aspects, and keep the magic alive through creative reflection and feedback!
Crafting Magic: The Power of Themed Family Activities
Themed activities like magical potion-making offer numerous benefits for children. They spark creativity, encourage learning through play, and provide an opportunity for quality family time. By combining fun with education, children can explore scientific concepts while immersing themselves in the enchanting world of Harry Potter.
We hope this potion-making adventure has inspired you to try more themed experiences with your kids! Whether it’s creating potions, exploring new scientific experiments, or diving into other magical worlds, these activities can create lasting memories and foster a love of learning.
Discover the Magic of Our Wizarding School Portrait Experience
Join us at our portrait studio near Myrtle Beach, SC, for our enchanting Wizarding School Portrait Experience!
Not only will your family get to create all the magical potions we’ve talked about here, but you’ll also explore Diagon Alley, visit The Great Hall, and even take a photo with the Sorting Hat! Parents are welcome to join in the fun, and every young with or wizard leaves with a special gift bag. Best of all, each child gets to choose their very own wand to keep – or will the wand choose them?
Let’s continue to create magical moments together! ✨